Guide to Dividing Your Indoor Boston Fern for Propagation
Boston ferns have long been favorites among indoor plant enthusiasts for their lush, feathery fronds and vibrant green color. One of the most rewarding aspects of caring for these resilient plants is the ease with which they can be propagated. If you’re looking to multiply your greenery or share the joy of your Boston fern with others, this guide will walk you through the essential steps to successfully divide and propagate your cherished indoor specimen.
Introduction to Boston Fern Propagation
Propagating your indoor Boston fern is not just a fun project; it’s a sustainable way to multiply your plant collection. Through this guide, you will learn how simple it can be to divide your fern, creating new healthy plants that can be potted or shared with friends and family. Propagation also offers the dual benefit of encouraging new growth while rejuvenating the mother plant.
Understand Your Boston Fern
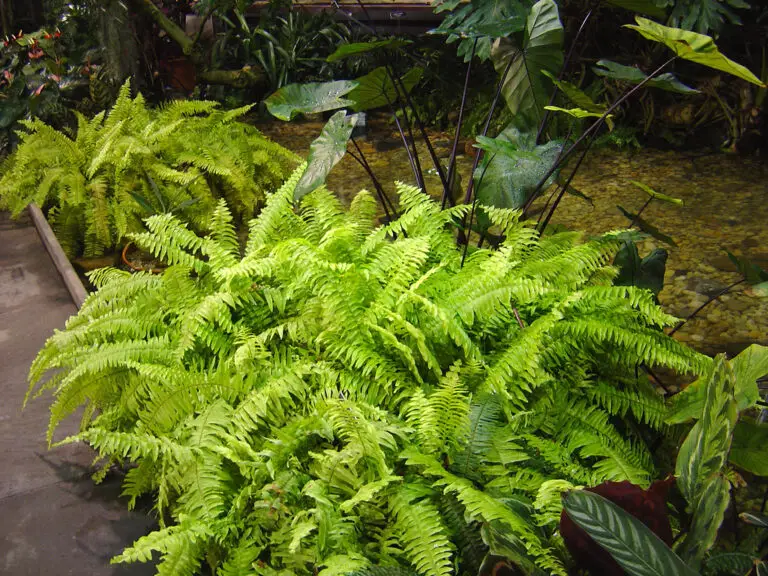
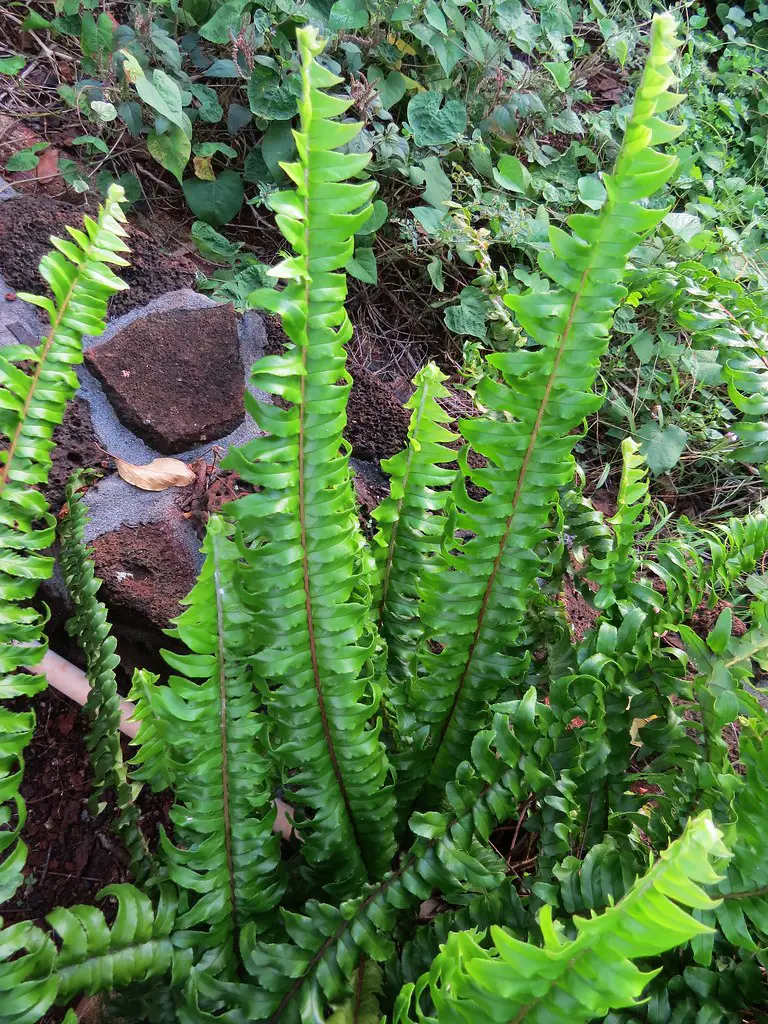
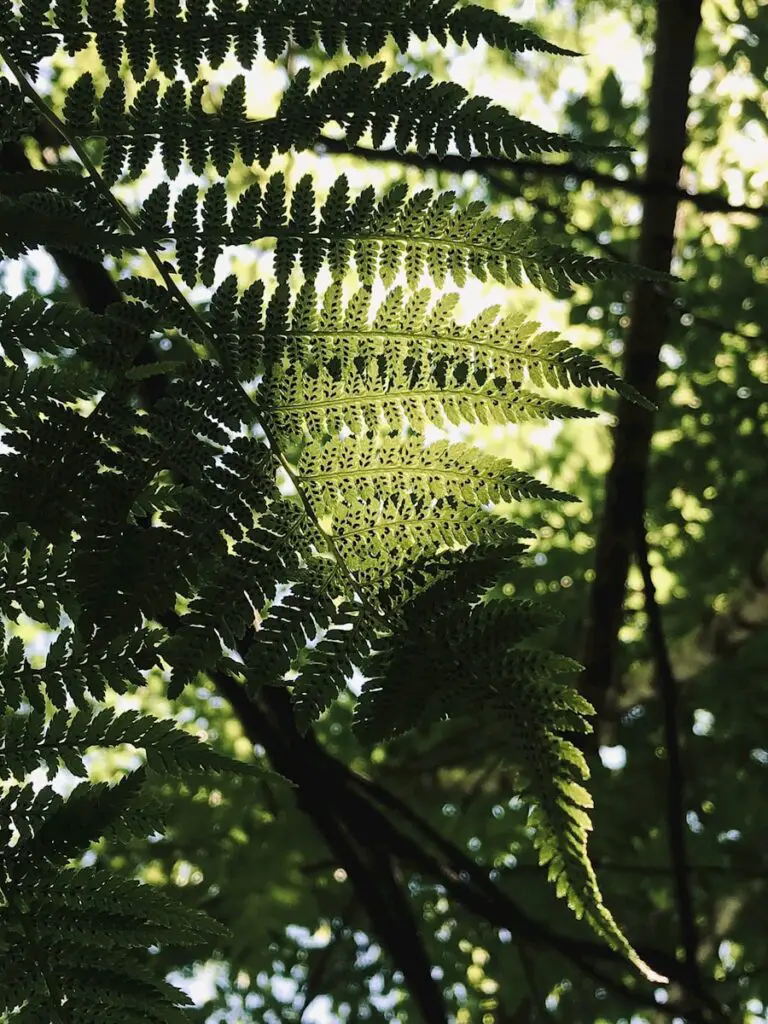
Before you begin the propagation process, it’s important to recognize the distinctive characteristics and growth habits of your Boston fern. This fern thrives in conditions that mimic its natural habitat, with consistent moisture, high humidity, and indirect, filtered light. It’s also known for its vigorous spread, making it an ideal candidate for division.
Why Divide Your Boston Fern?
The benefits of dividing your Boston fern are numerous. Not only does it allow you to propagate new plants, but it can also help manage the size of your existing fern. By periodically dividing your fern, you can prevent it from becoming root-bound and encourage a more vibrant and healthy display of fronds.
The Step-by-Step Guide to Dividing Your Boston Fern
To divide your Boston fern, it’s important to follow a series of steps to ensure the health and vitality of the parent plant and its divisions.
Step 1: Preparing the Plant
- Select a healthy parent plant: Look for a mature fern that has been in its current pot for at least two years and shows signs of crowding, such as sparse fronds or roots protruding from the soil.
- Water the plant: A well-hydrated fern will be easier to work with and less likely to experience post-division shock.
- Remove the fern from its pot: Gently tease the roots apart to loosen the soil and expose the rhizomes (the thick, horizontal stems from which the fronds grow).
Step 2: Dividing the Plant
- Inspect the rhizomes: Search for natural divisions or areas with new growth. You may find these spots by looking for clusters of fronds or offshoots with their own smaller roots.
- Use a clean, sharp knife or shears: Cut through the rhizome, ensuring that each division has both fronds and roots.
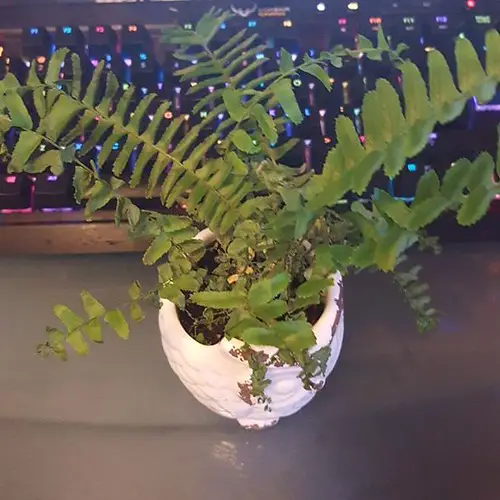
Step 3: Repotting the Divisions
- Prepare the new pots: Fill clean, appropriately sized pots with a well-draining potting mix, such as a blend of peat moss, perlite, and compost.
- Place each division in its new pot: Position the division so that the roots are spread out and covered with enough soil to hold the fern in place. Water lightly to settle the soil.
Step 4: Care and Maintenance Post-Division
- Provide adequate humidity and light: New divisions will benefit from indirect light and a humid environment, especially if they’re planted during the dry season.
- Regular watering: Keep the soil moist but not waterlogged. The first few weeks after division are crucial for root development, so monitor the moisture levels closely.
- Fertilize sparingly: After the first month, you can begin fertilizing with a balanced plant food, diluted to half strength.
- Patience and observation: It may take a few weeks for the divisions to adjust and show new growth. Be patient and attentive, as each plant may respond differently to the division process.

Tips for Successful Propagation
The key to successful propagation is creating an environment that is conducive to root growth and overall plant health.
Light, Watering, and Soil Tips
- Light: Provide bright, indirect light or dappled sunlight. Too much direct sun can scorch the delicate fronds of new divisions.
- Watering: Maintain a consistent watering schedule, adjusting for the specific needs of your plant and the environmental conditions of your home.
- Soil: Use a rich, well-draining potting mix that retains moisture without suffocating the roots. Aeration and drainage are critical for healthy root development.
Troubleshooting Common Issues
- Root rot: Ensure that the post-division pots have drainage holes and that you’re not overwatering. Discard any standing water to prevent the soil from becoming waterlogged.
- Transplant shock: The first few days after division, your plants may look a little wilted. Ensure they’re receiving their regular care of light, water, and humidity to help them recover.
Conclusion
Dividing your Boston fern is a wonderful way to enjoy the beauty of new growth and share the love of plants with others. By following this comprehensive guide, you can confidently propagate your ferns, enhancing your indoor oasis and the greenery of the spaces you cherish. Remember, each plant is unique, so patience and attentiveness to its individual needs are vital. Happy propagating, and may your home always be filled with the lushness of Boston ferns!